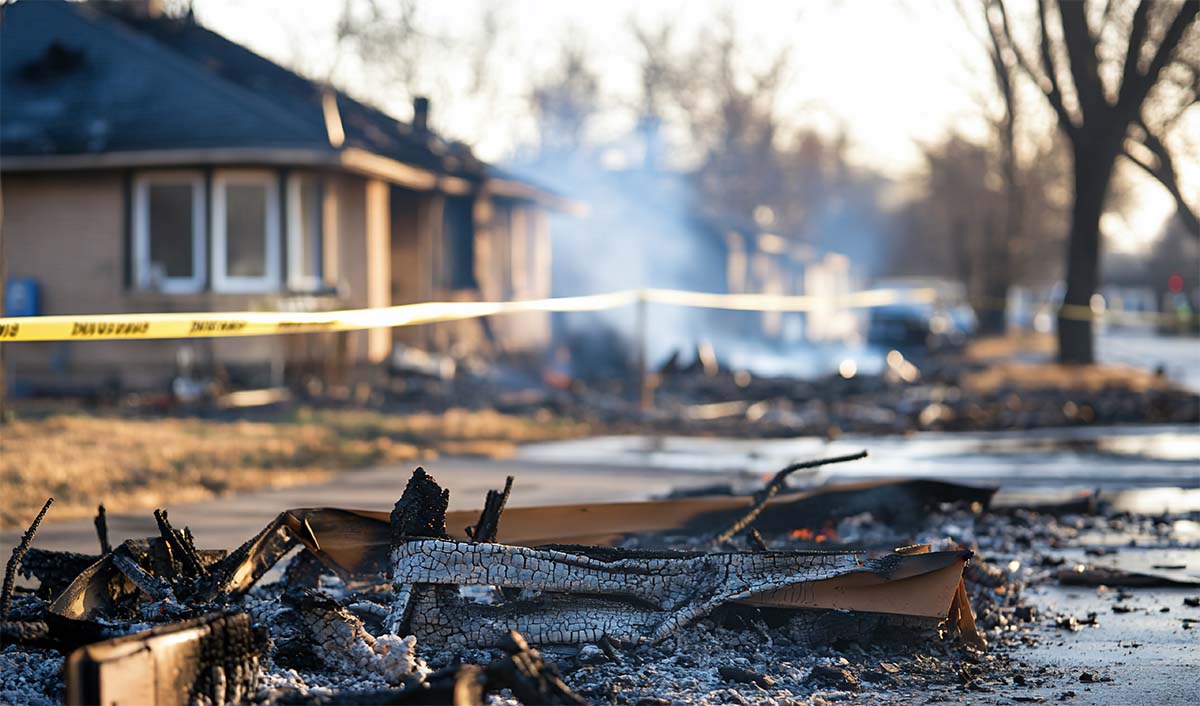
Rising from the Ashes, Your Layton Recovery Starts Here Imagine this: flames have affected your Layton home, leaving behind charred walls, smoky …
Layton, Utah, is no stranger to unpredictable disasters. From harsh winter storms and flash floods to unexpected fires and mold outbreaks, the …
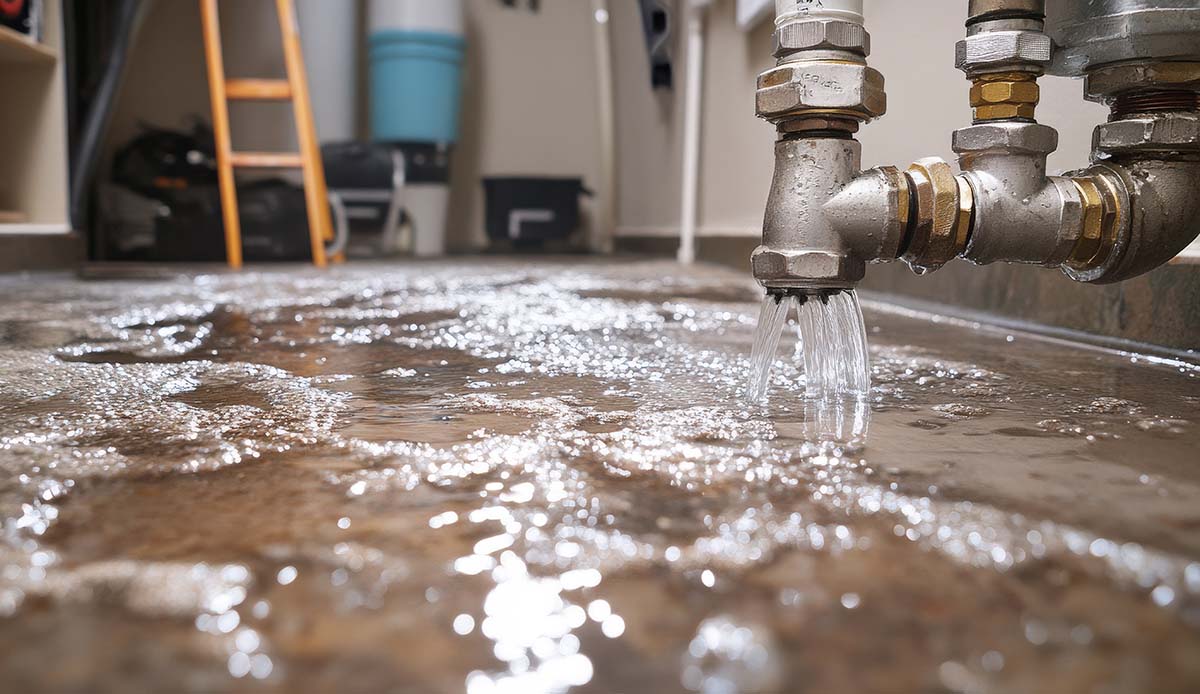
In Layton, water damage is a year-round concern. It’s not just a springtime problem or something that comes with summer monsoons. From …
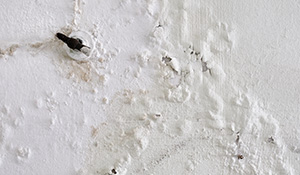
Water damage isn’t always obvious—but it’s always serious From slow plumbing leaks to unexpected floods, moisture can silently destroy your home from …

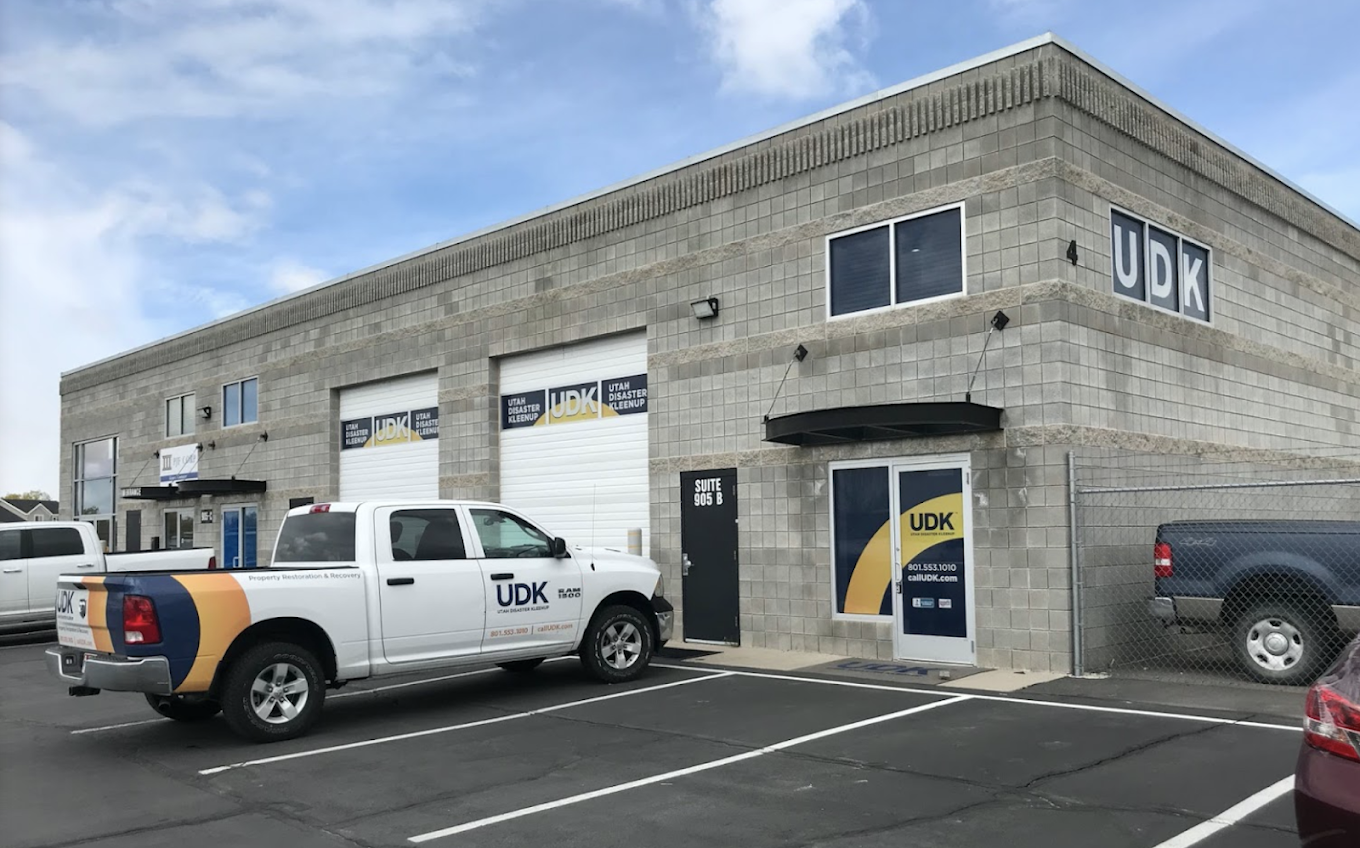
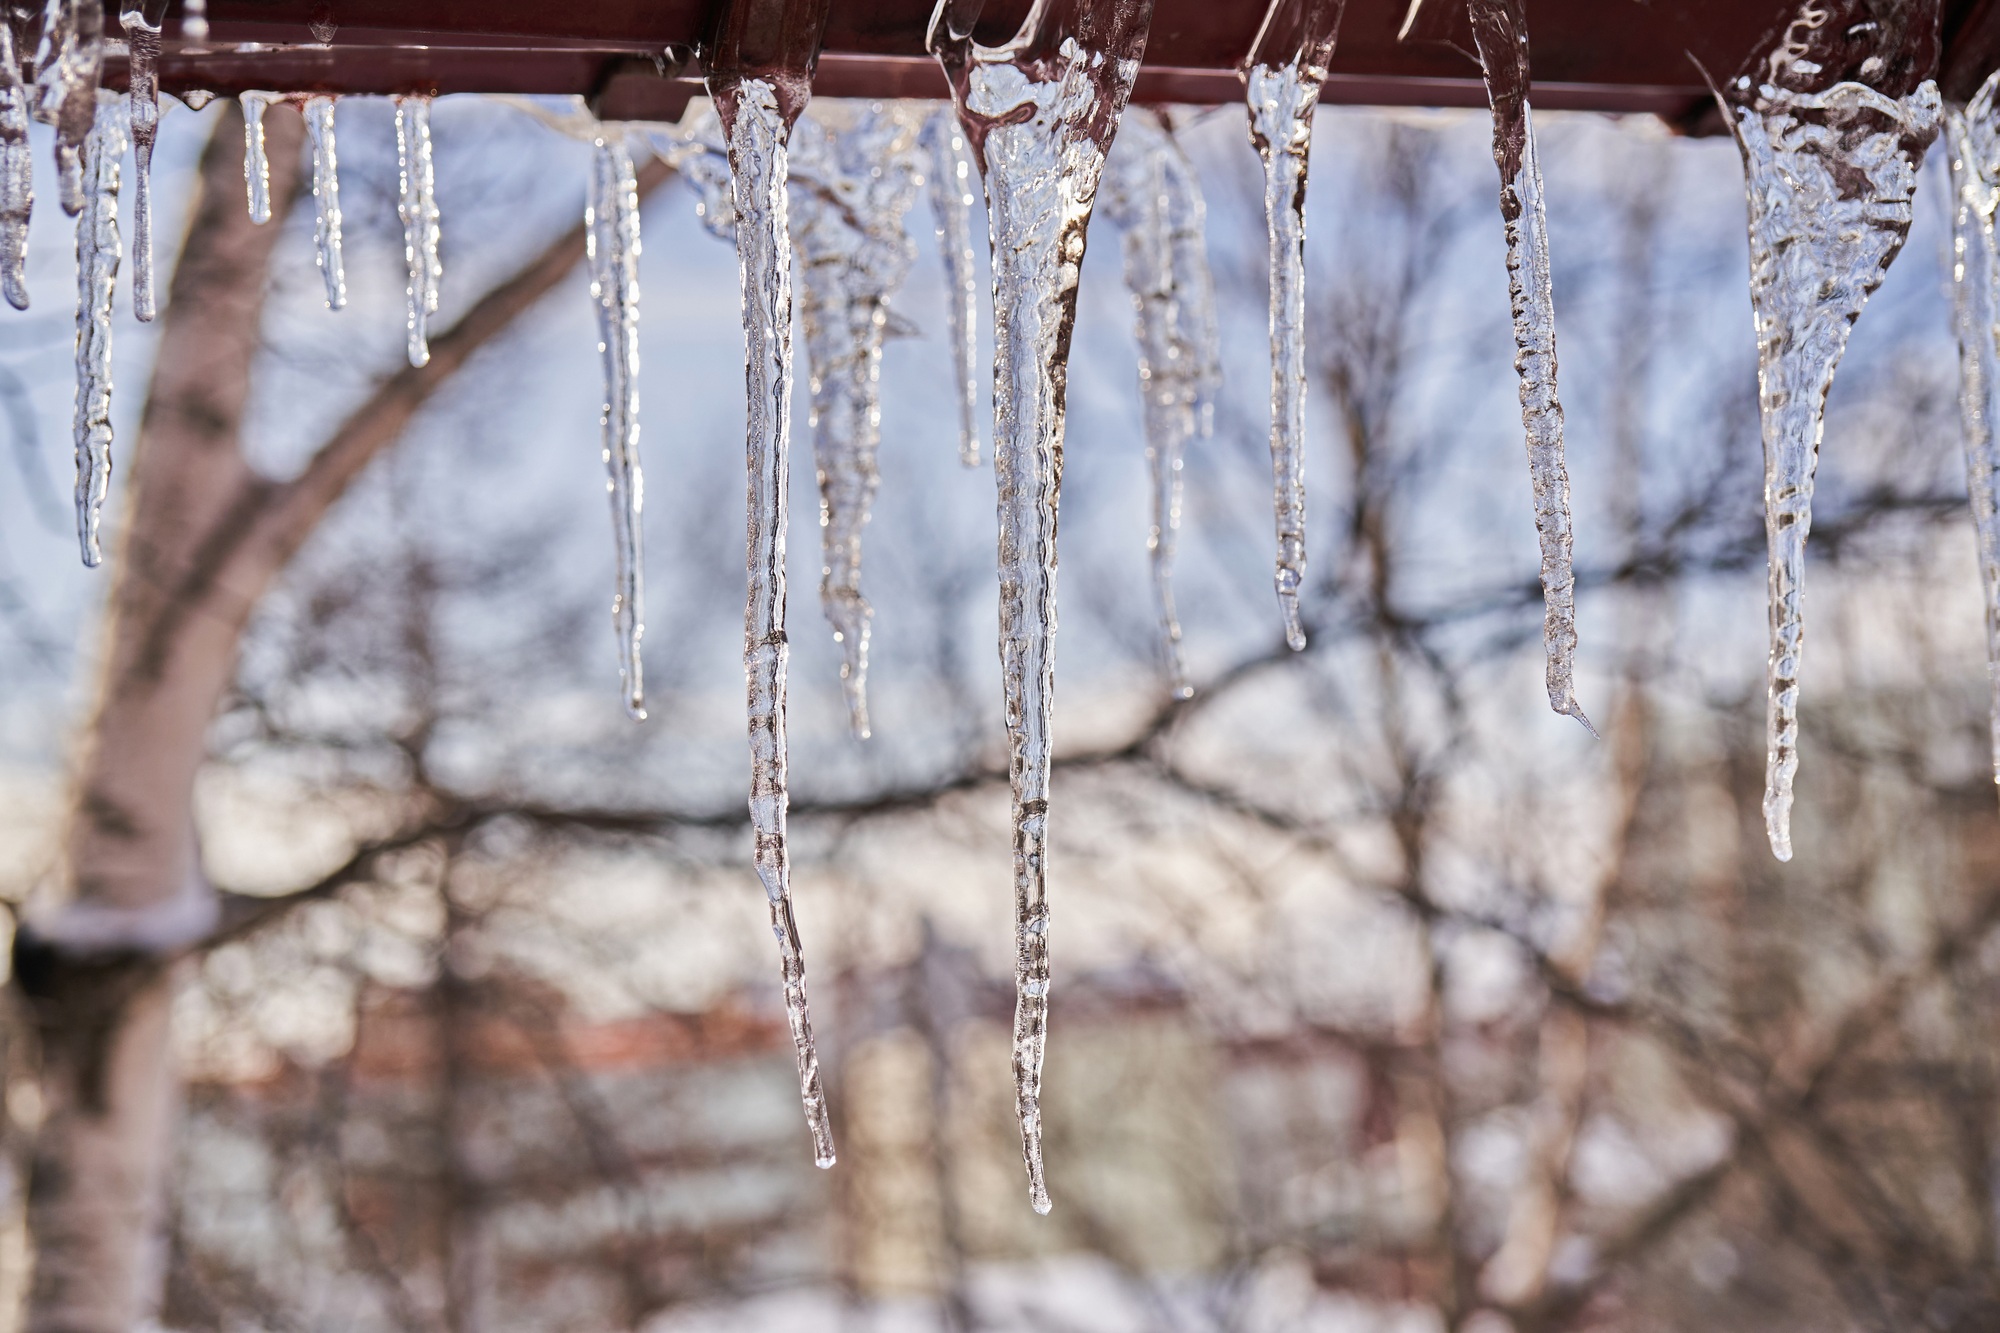
Winter can be brutal on homes and businesses, leading to burst pipes, ice dams, and storm-related damage. When disaster strikes, choosing the …
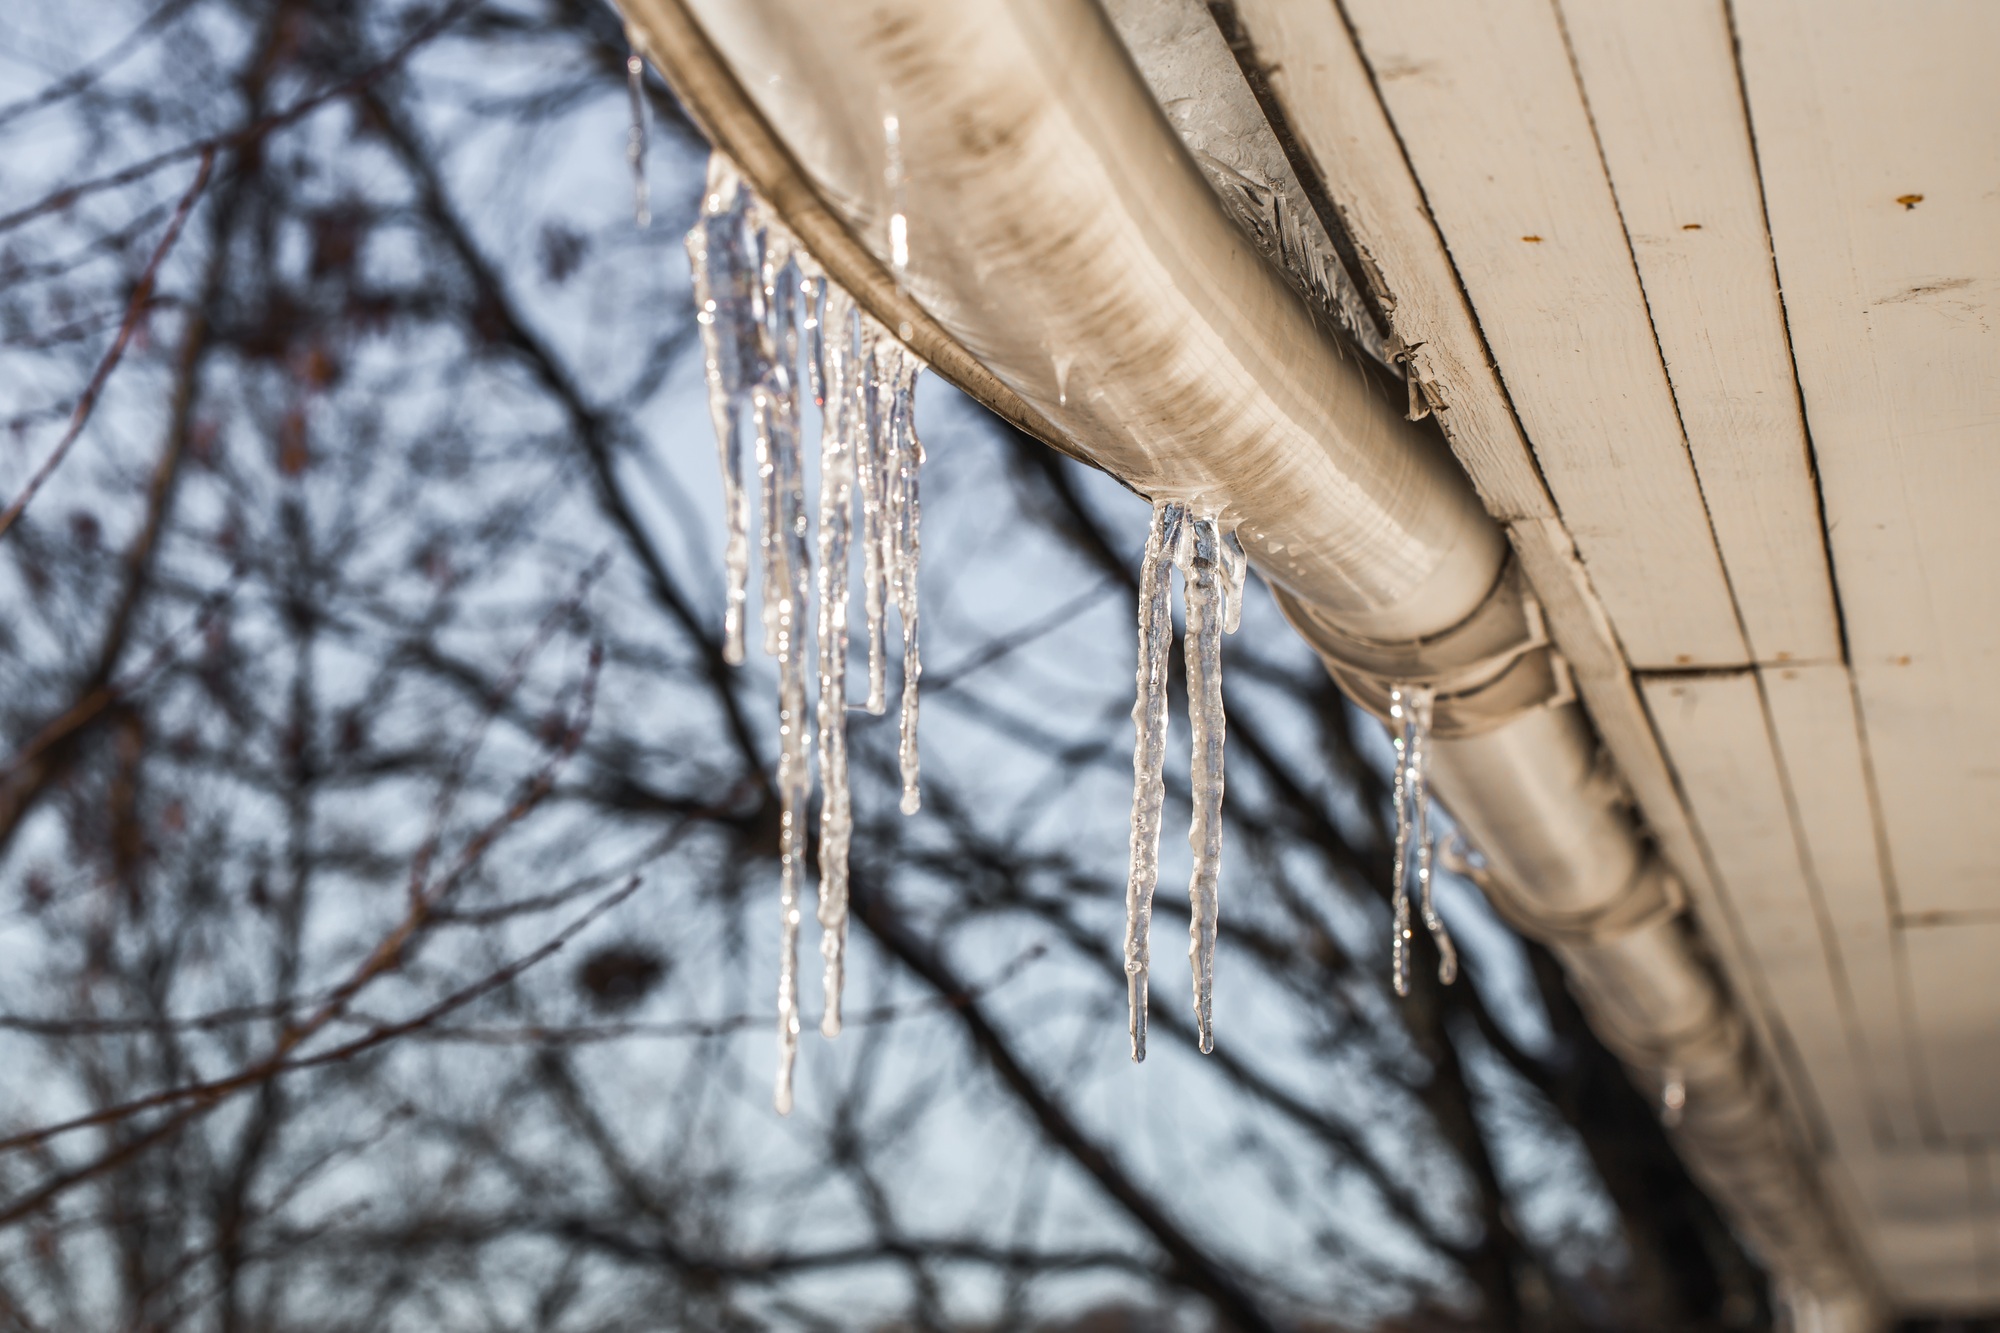
Winter brings snow-covered landscapes, cozy nights by the fire, and, unfortunately, a higher risk of winter water damage. While homeowners and business …
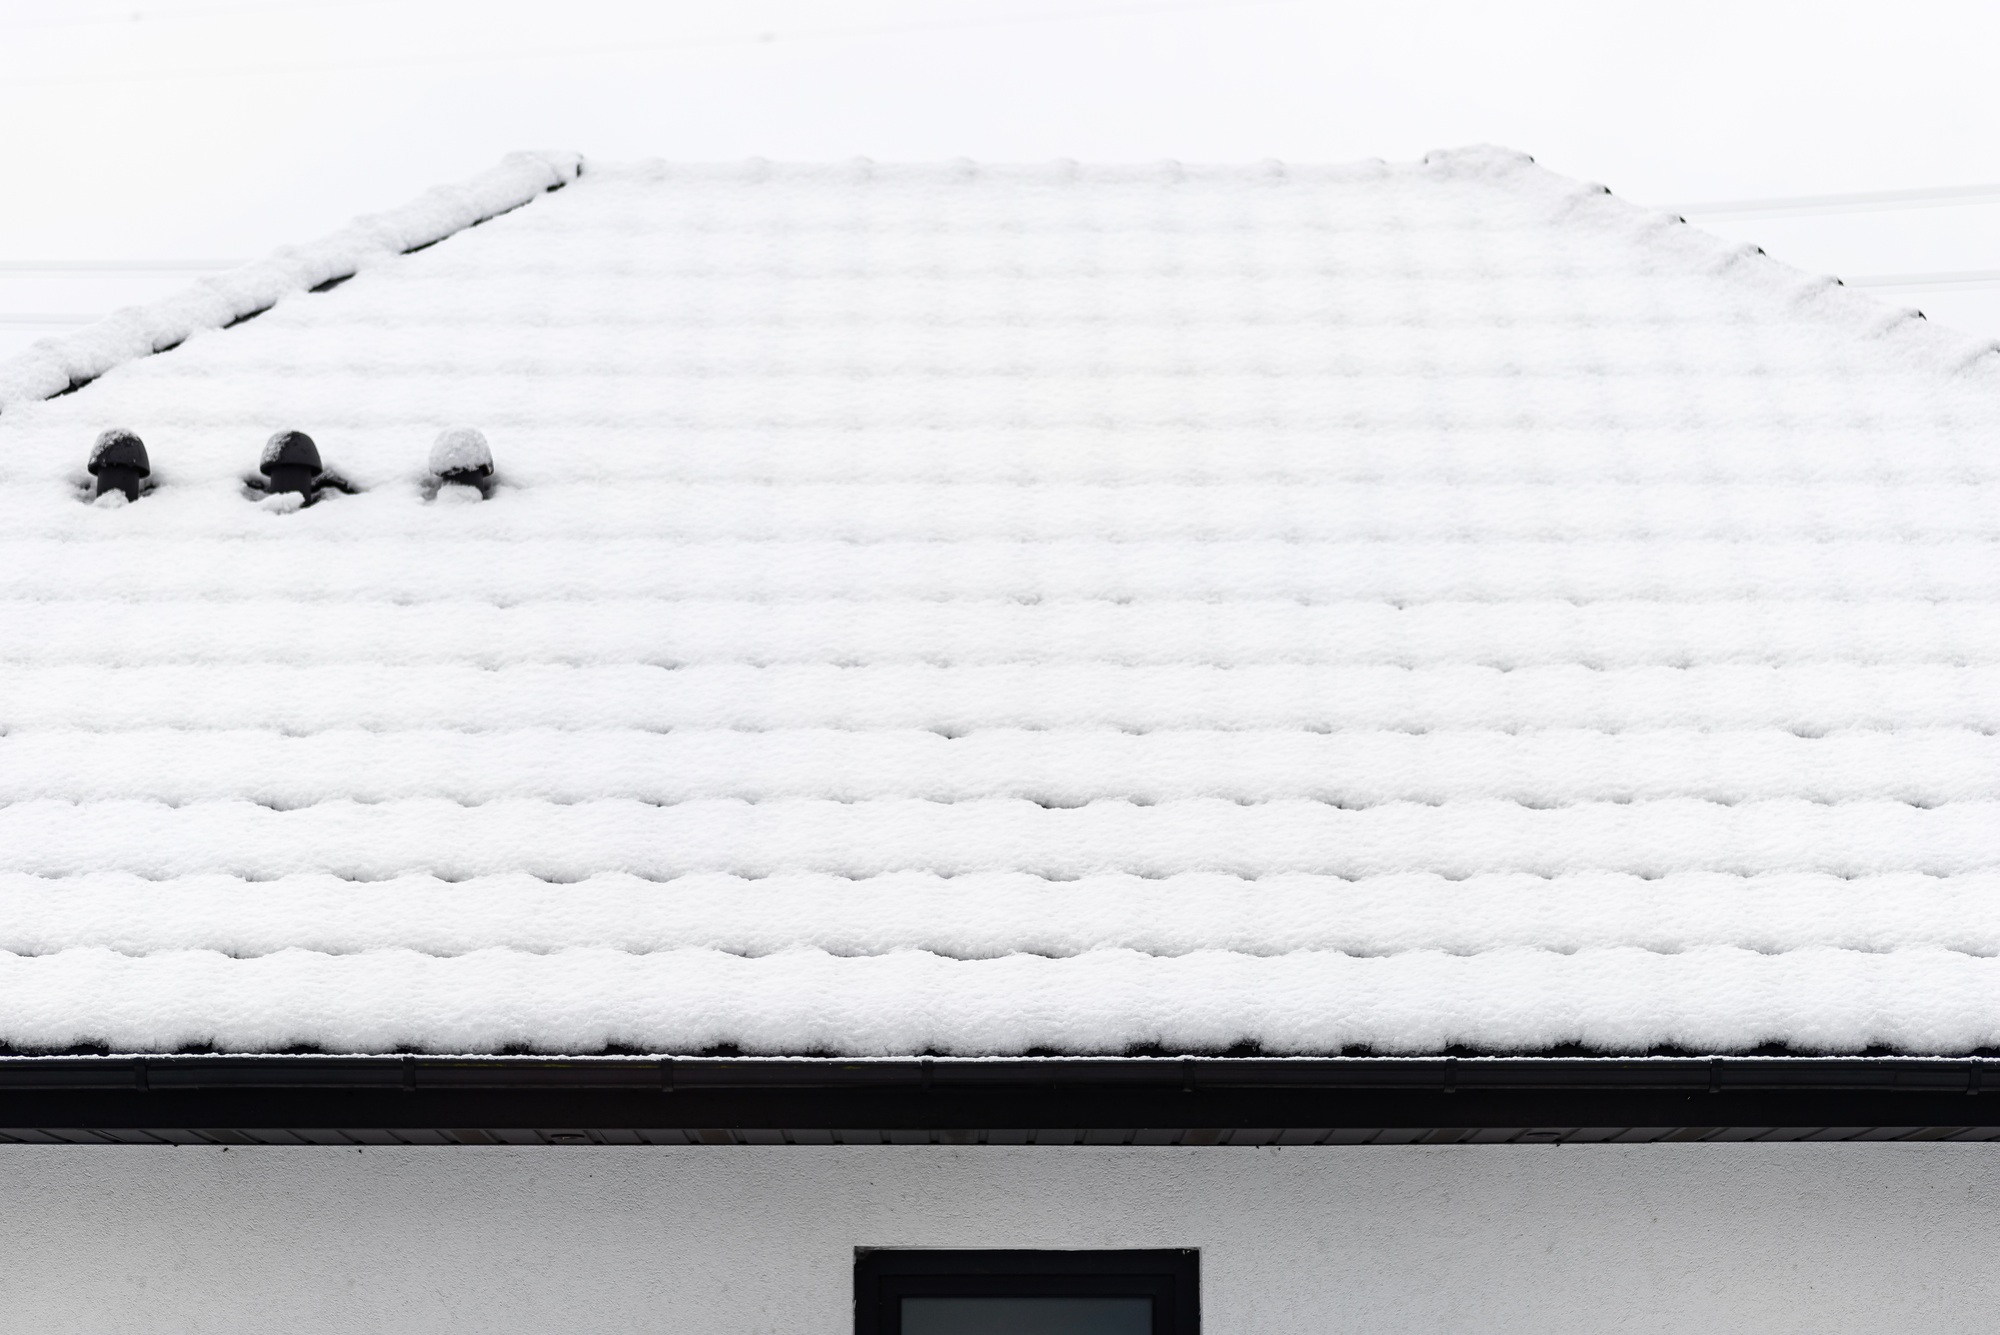
Winter in Utah brings freezing temperatures, heavy snowfall, and icy conditions that can put your home or business at risk—especially if you …
Winter’s arrival brings freezing temperatures that can wreak havoc on unprotected plumbing. Insulating pipes is one of the most effective ways to …
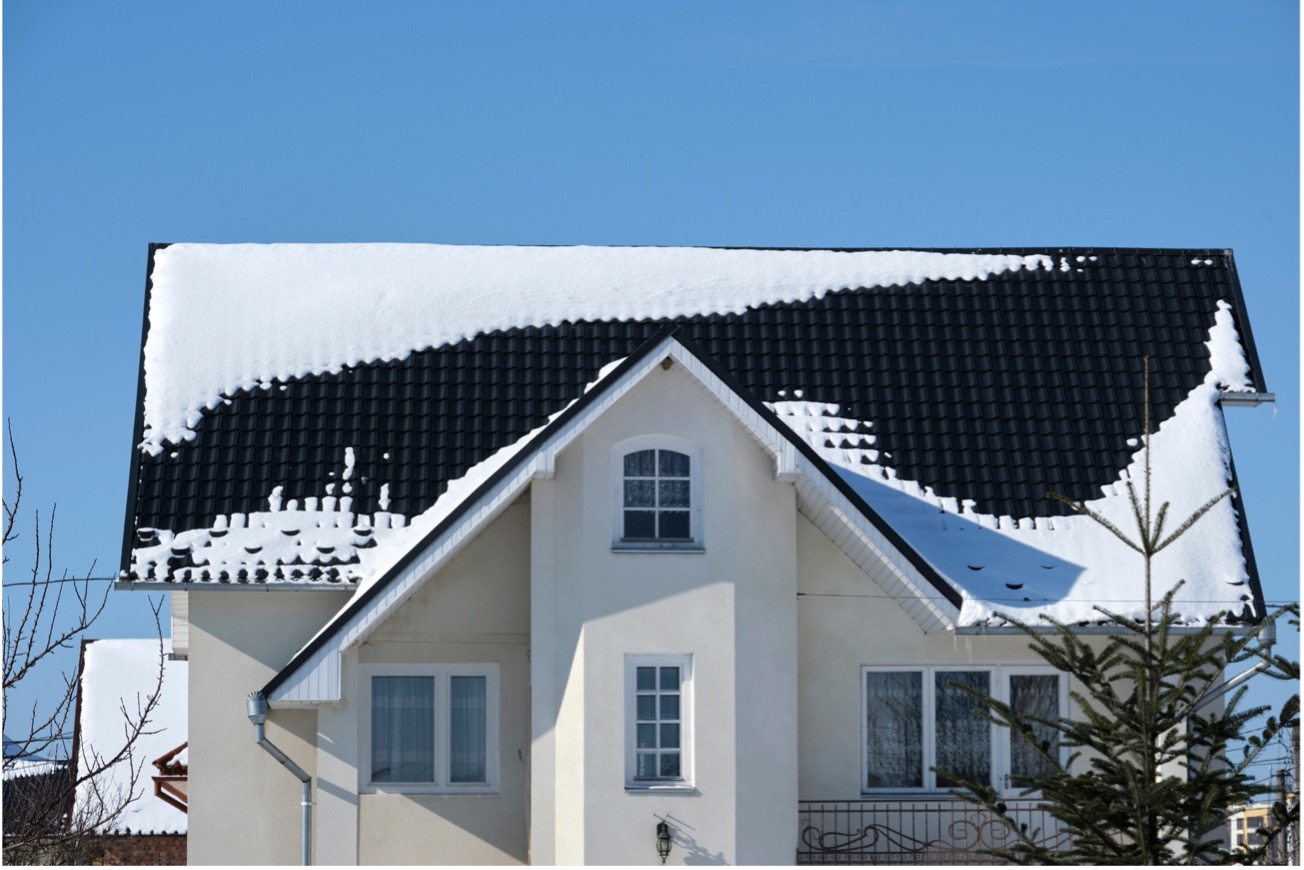
As winter approaches, landlords and property managers in Utah face unique challenges. The colder months pose risks like frozen pipes, roof damage …

Emergencies can strike at any moment, and being prepared is the best defense against unforeseen disasters. From natural calamities to unexpected events, …